Introduction
InDesign has a number of tools available to the user to make the content they create accessible. This tutorial will walk users with InDesign through the use of these features. This tutorial was developed for InDesign CS6, although other versions may share functionality.
In this tutorial, the accessibility features of InDesign will be covered through:
Alternative Text
Alternative text for images, charts, graphs, and tables is vital to ensuring that users with visual impairments have access to information included in these visuals. This descriptive text should be limited to 120 characters for simple images, while the alternative text for graphs, tables, and complex images (such as detailed maps and diagrams) should give a brief summary of the included information. Alternative text should provide sufficient information so that users who are unable to see them are still able to understand what they convey. Images used for purely decorative purposes (i.e., those that do not provide any meaningful information) should not have alternative text. If the body of the document already contains a sufficiently detailed description in close proximity to the image, the alternative text can simply identify the image so that the reader knows when it is being referred to.
While there are no hard and fast rules for determining what alternative text should say (it depends on the image, its context, the intent of the author, etc.), one simple trick is to imagine describing the image to someone over the phone. The more important an image's content is, the more descriptive the alternative text should be.
To set Alt Text in Adobe InDesign:
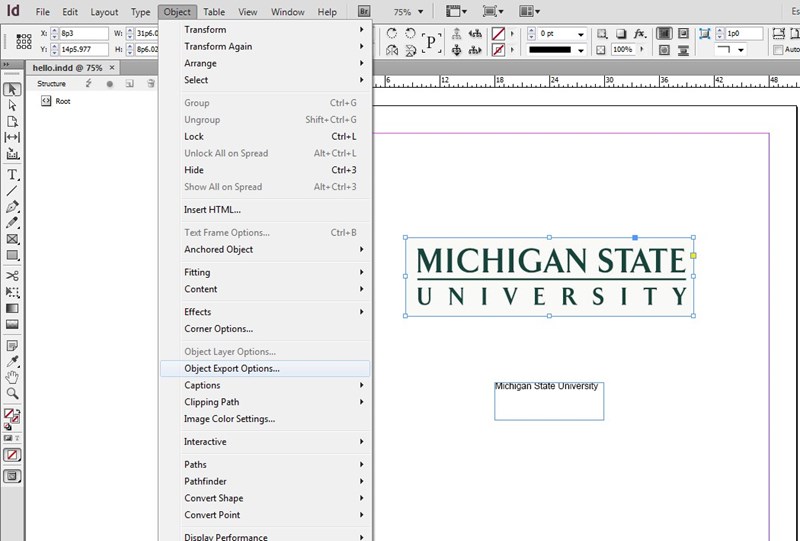
Select the image or object, then click the Object drop-down menu and click Object Export Options.
In the Objects Export Options dialog box, select the Alt Text tab. Then select Custom from the Alt Text Source drop-down menu.
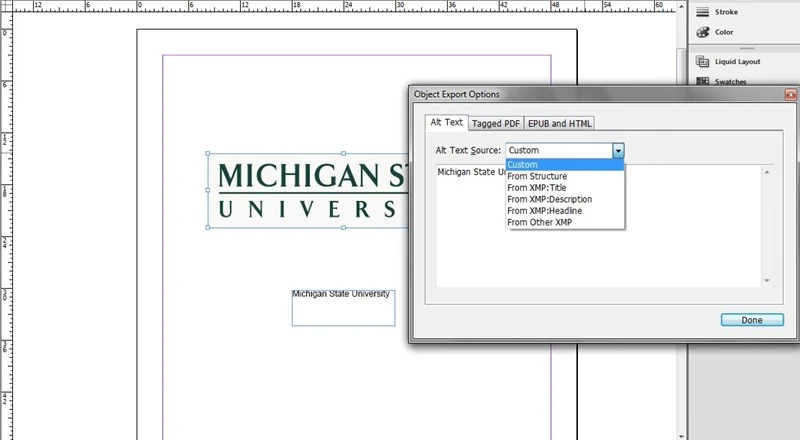
Type an alternative description in the box below, then click Done.
Reading Order
To ensure that InDesign content is read in the correct order, reading order must be manually set. Documents with images, columns, text boxes, tables, etc., will require each of these to be manually checked or set to ensure assistive technologies progress through content correctly.
To set a reading order in InDesign:
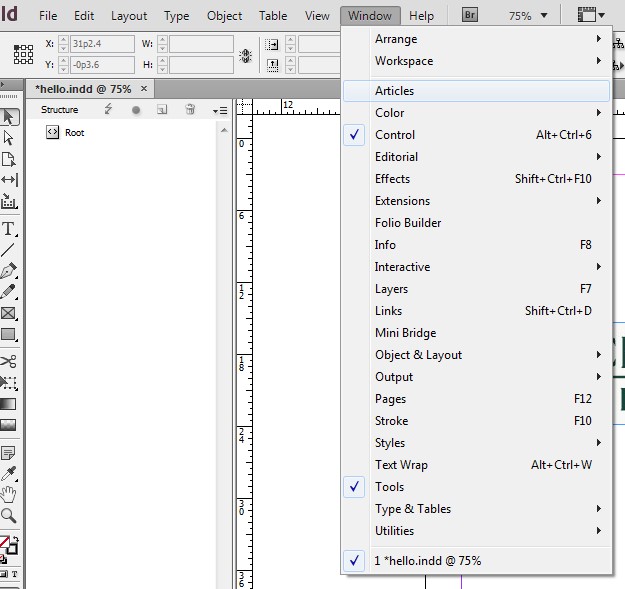
Open up the Articles window by opening up the Windows drop-down menu, then clicking Articles.
Then control-click the New Article icon from the Articles window.
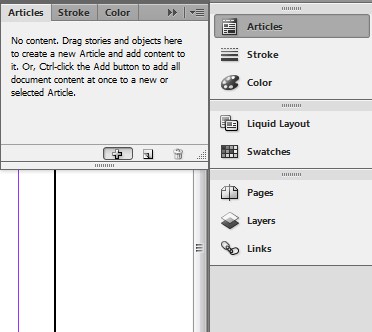
This will automatically set a reading structure for your document.
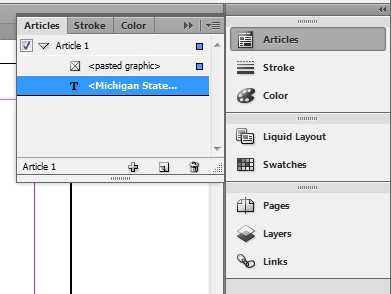
Click and drag elements to structure the reading order of the document.
Headings
Headings provide context and a way to navigate quickly for users of assistive technologies such as screen readers. Such technologies ignore text size and emphasis (bold, italic, underline) unless Headings are used.
Headings should be selected based on their hierarchy in the document. Start the page with a heading that describes overall document content (Title). Follow it with sub-headings (Heading 1) and sub sub-headings (Heading 2), etc.. Items of equal importance should be equal level headings, and heading levels should not be skipped (i.e., a Heading 3 can't be the first heading after Heading 1; Heading 2 can't be skipped).
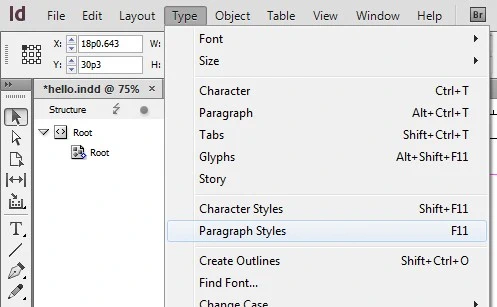
Select Paragraph Styles in the Type drop-down menu.
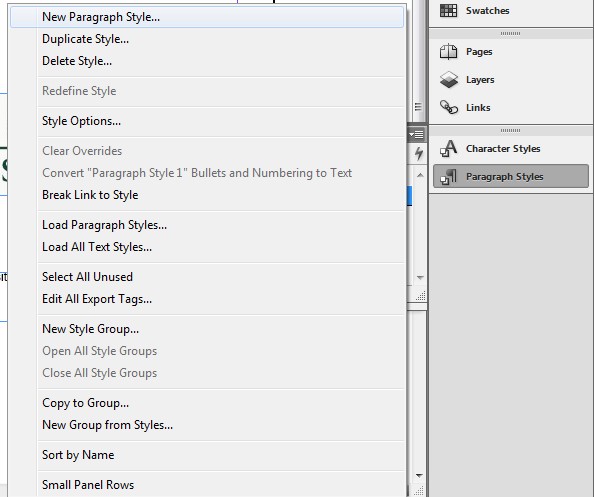
Click the drop-down menu button, than select New Paragraph Style.
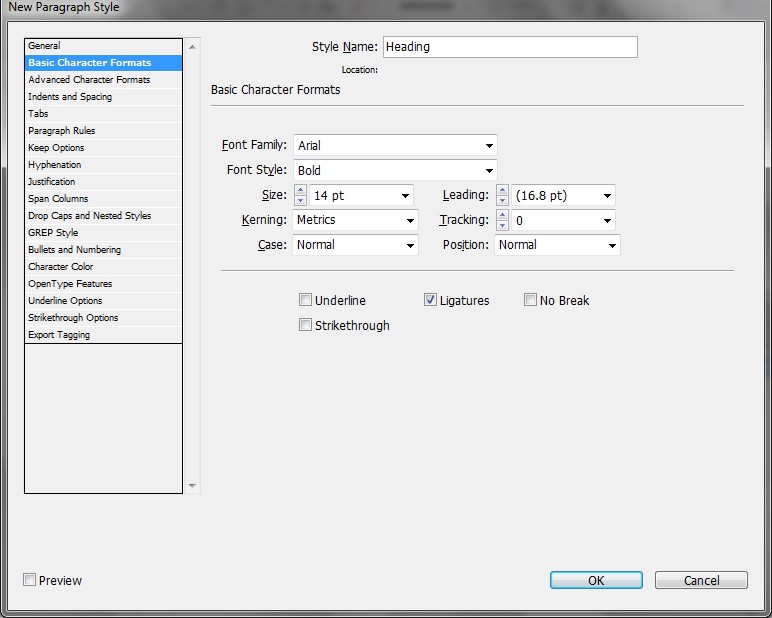
Select the Basic Character Formats located in the left side pane to customize the appearance of this new heading.
To assign this new heading style, select the text you wish to assign the style to, then click the paragraph style from the Paragraph Style menu.

Color Contrast
It is essential that appropriate contrast exist between text and the background. In general, lightly colored text should have a darker background and darkly colored text should have a light background. For more on how to test the accessibility of your color contrast, see the Color Contrast tutorial (which uses the Colour Contrast Analyser, a helpful tool for testing your color contrast).
Setting Language
Languages that are set in InDesign will not carry over into PDF format, so it is important to define language in Adobe Acrobat after exporting your InDesign work to PDF. Setting a language will enhance a screen reader’s ability to interpret and read off a document.